This is a tutorial of the Pipe Engineer Plug-in. The way this works is the descriptions of each pictures are above the picture.
Here we go.
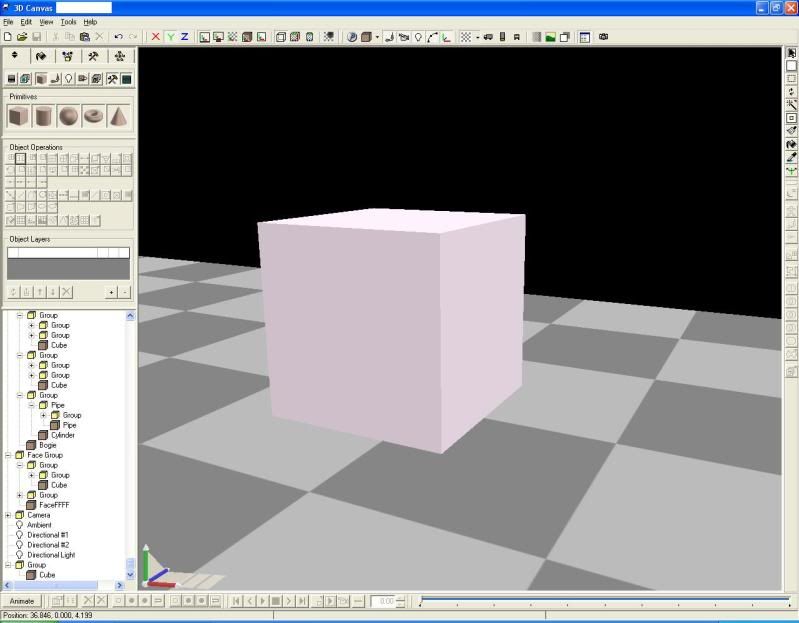
Here is your standard primitive cube, this is what we will use for making our pipe. You are allowed to use more complex shapes, but this will keep it simple.
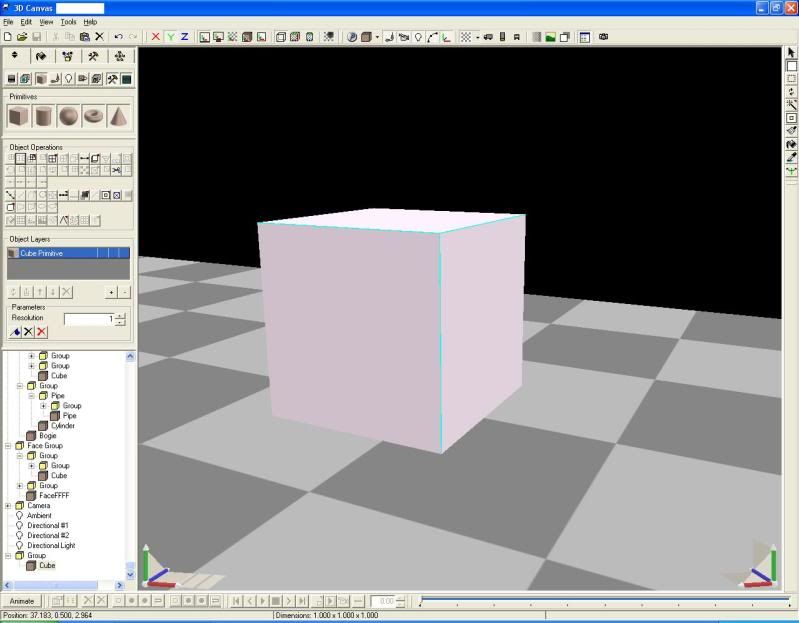
Now, we need to select the Point and Face Selection Tool in the upper-right corner. And select the edges that you want your pipe to be "on."
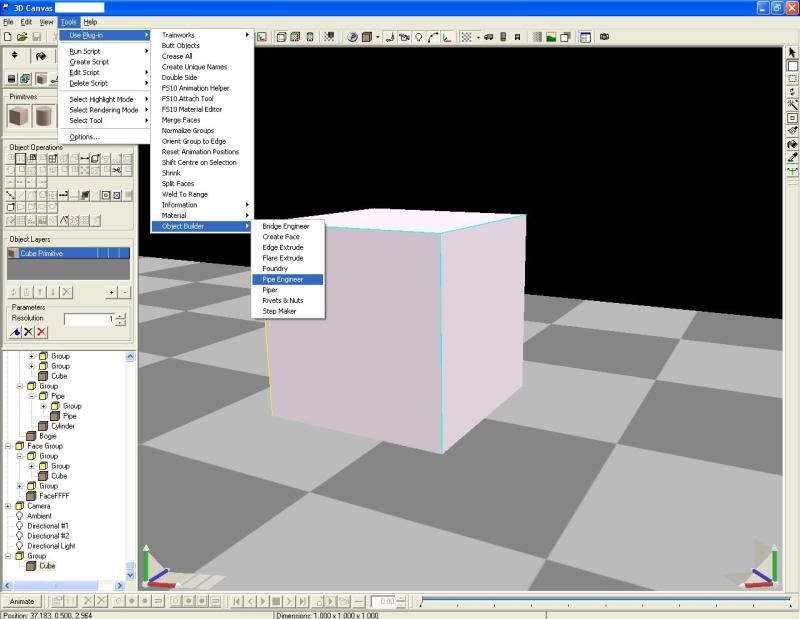
Next, navigate to-
Tools > Use Plug-in > Object Builder > Pipe Engineer and select it, with your edges still selected.
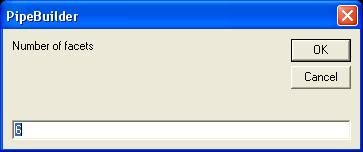
We are given a picture asking about the number of facets, this is the number of faces on each pipe section.
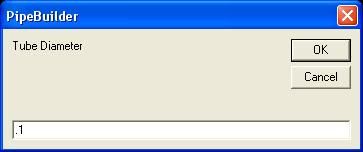
Next is "Tube Diameter" which is pretty self explanatory, here, I selected one-tenth.
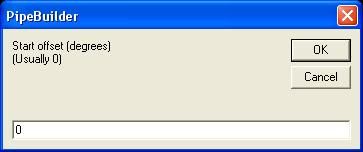
Start offset, is (I think) rotating each pipe along it's length, usually zero is fine.
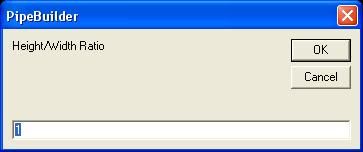
Height/Width Ratio, is how tall/wide each pipe is. Press OK one last time.
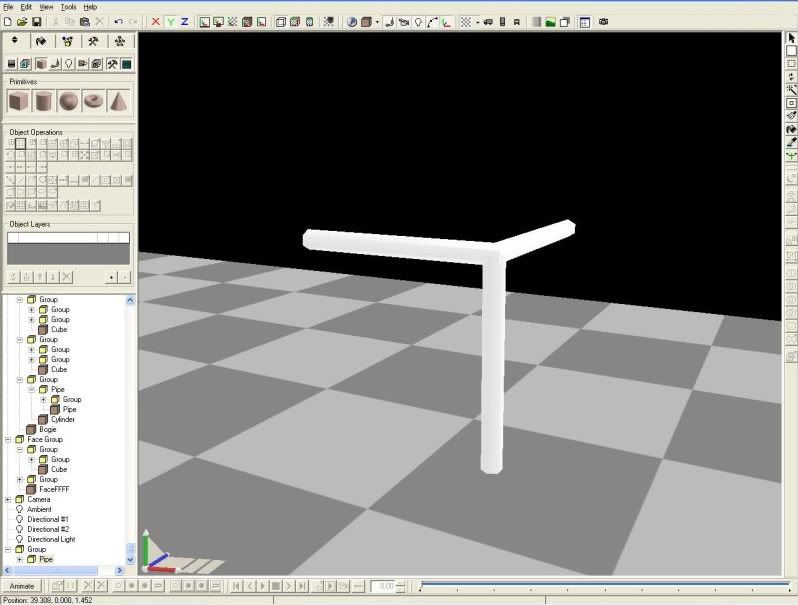
Here is your result.
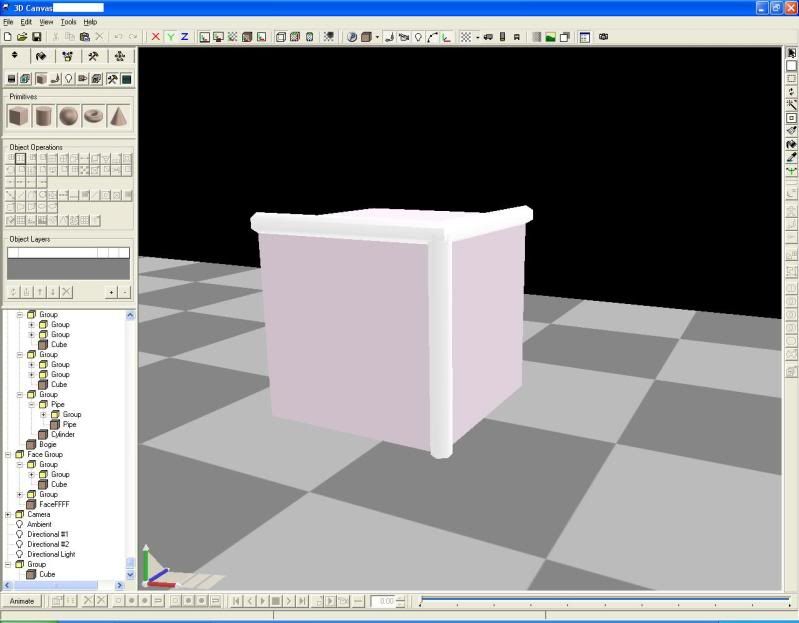
Now, if you require, you may delete the cube you had your pipe originate from.
I hope this helped!